


The next time that a snowboarder tells me that they’re going to start skiing because “it’s easier to get around in the backcountry”, I’m going to do the following things to them:
-smack them
-make them watch Jeremy Jones’s Deeper/Further/Higher trilogy
-take them skiing on a pow day at the resort
-drive them to the closest purveyor of snowboards that split in half
Splitboards have been around for a couple of decades now and they basically eliminate every disadvantage that snowboarders used to face in backcountry environments.
Yes yes, there was a time when knuckledraggers like myself were a total liability out there. We’d use snowshoes, wallowing balls-deep to the bottom of the snowpack and marching awkwardly, without glide, on flat approaches.
Of course, there’s no better tool than a snowboard for ripping the absolute shit out of sweet (or even not-so-sweet) cherry pow. But our sport’s initial forays into the untamed world of the backcountry were awkward at best.
And then, between 1991 and 1994, Brett “Cowboy” Kobernik and Voile’s Mark “Wally” Wariakos invented the system of splitting and reattaching snowboards that is still largely in use today.
Here’s a basic guide of what you’re going to need to get into splitboarding as seamlessly as possible.
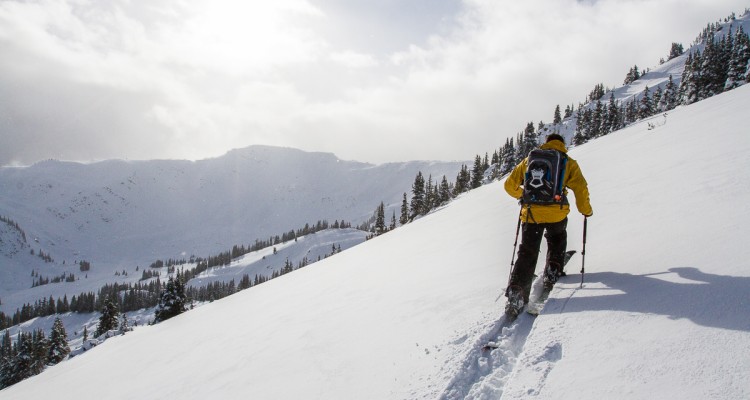
Splitboards aren’t just for Flat Gay Pow. Photo: Callum Paterson
THE BOARD
A lot of people want to save cash and simply cut an old board in half and then mount it with the Voile DIY Kit. This approach works, sure. But even if you nail the split perfectly (cutting a board in half is NOT that easy), you’ll be left without an inside edge on your skis. This makes climbing, especially sidehilling, in less-than-ideal conditions super challenging.
It’s best to stick with a reputable split company that’s been making these boards for a long time and has the process dialed, like Prior, Voile or Jones. There are a few smaller, boutique splitboard companies. But they have a tendency to rise and fall like the freezing levels of 2014-15 and it’s pretty hard to warranty a board with a company that no longer exists.

This is my Prior BC Split 165. I always get a splitboard that’s 3-5 centimetres longer than the board I ride at the resort. The extra length feels better in deep pow and feels way better underfoot when you’re in ski mode, navigating through (and over) crevasses.
THE BOOTS
Your average recreational splitboarder (like me) just uses the same boots that they use on their hill board. But there’s been a growing number of people, especially guides who find themselves in the backcountry on a daily basis, who rock a hard-boot set-up and click into plate bindings.
Advantages include better sidehilling, which is actually super challenging in traditional snowboard boots. A hard toe makes bootpacking in hard snow way easier, not to mention safer. And hard boots fit with traditional crampons, as opposed to the ones that are meant for hiking boots (which is what I use).
Disadvatages include looking like a hardbooting loser (JUST KIDDING). Joey Vosburgh runs this set-up and rips absolutely everything in sight.
I haven’t tried them yet, but the compromise between the two options could quite possibly be Fitwell boots, which according to their website “ combines the features of modern mountaineering boots with the comfort and support of snowboard boots.”
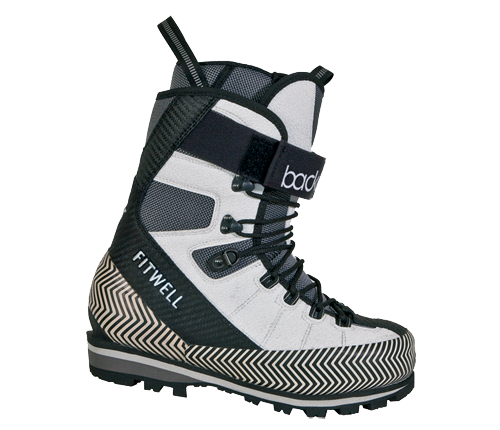
These Fitwells have certainly got our attention.
Xavier De Le Rue also helped develop the Deeluxe Spark boot, which is meant to be a similar hybrid of freeride and mountaineering performance.
THE BINDINGS
For my first decade of splitboarding, I’d simply mount a traditional set of bindings on the Volie plates that came with my first splitboard.
It works, and will help save you a little cash when you first get into splitboarding. But it’s heavy as all hell and raises you about a centimetre above your board, which creates a significant lag in turn initiation.
Splitboard binding technology has come a long way, and if you run a set of split-specific bindings that puts you flush with your board, you’ll be able to charge way harder.
I run an older set of Sparks and have been super happy with them. Karakoram has also developed a system. And I’m wary of its complexity. But without having personally used it, I’ll leave you with this review here.
I like the looks of the new Voile Light Rail, which actually has a pull cord so you can shed your bindings in the case of an avalanche. But I haven’t tried it yet so don’t wanna say too much.
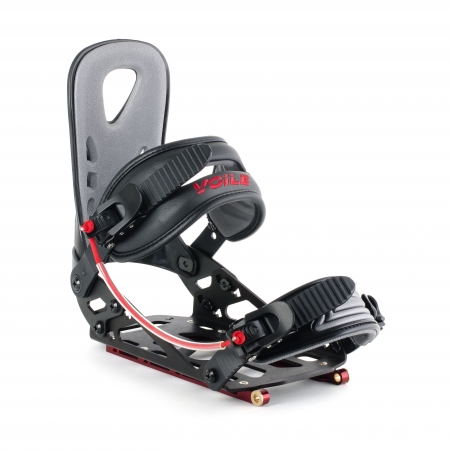
Voile Light Rails
Vosburgh and a few other reputable hardbootin’ shredhounds rock Phantom splitboard bindings on the way down and Dynafit bindings on the way up.
I’m still slightly baffled by the set-up, so I’ll let you check out this write-up here.
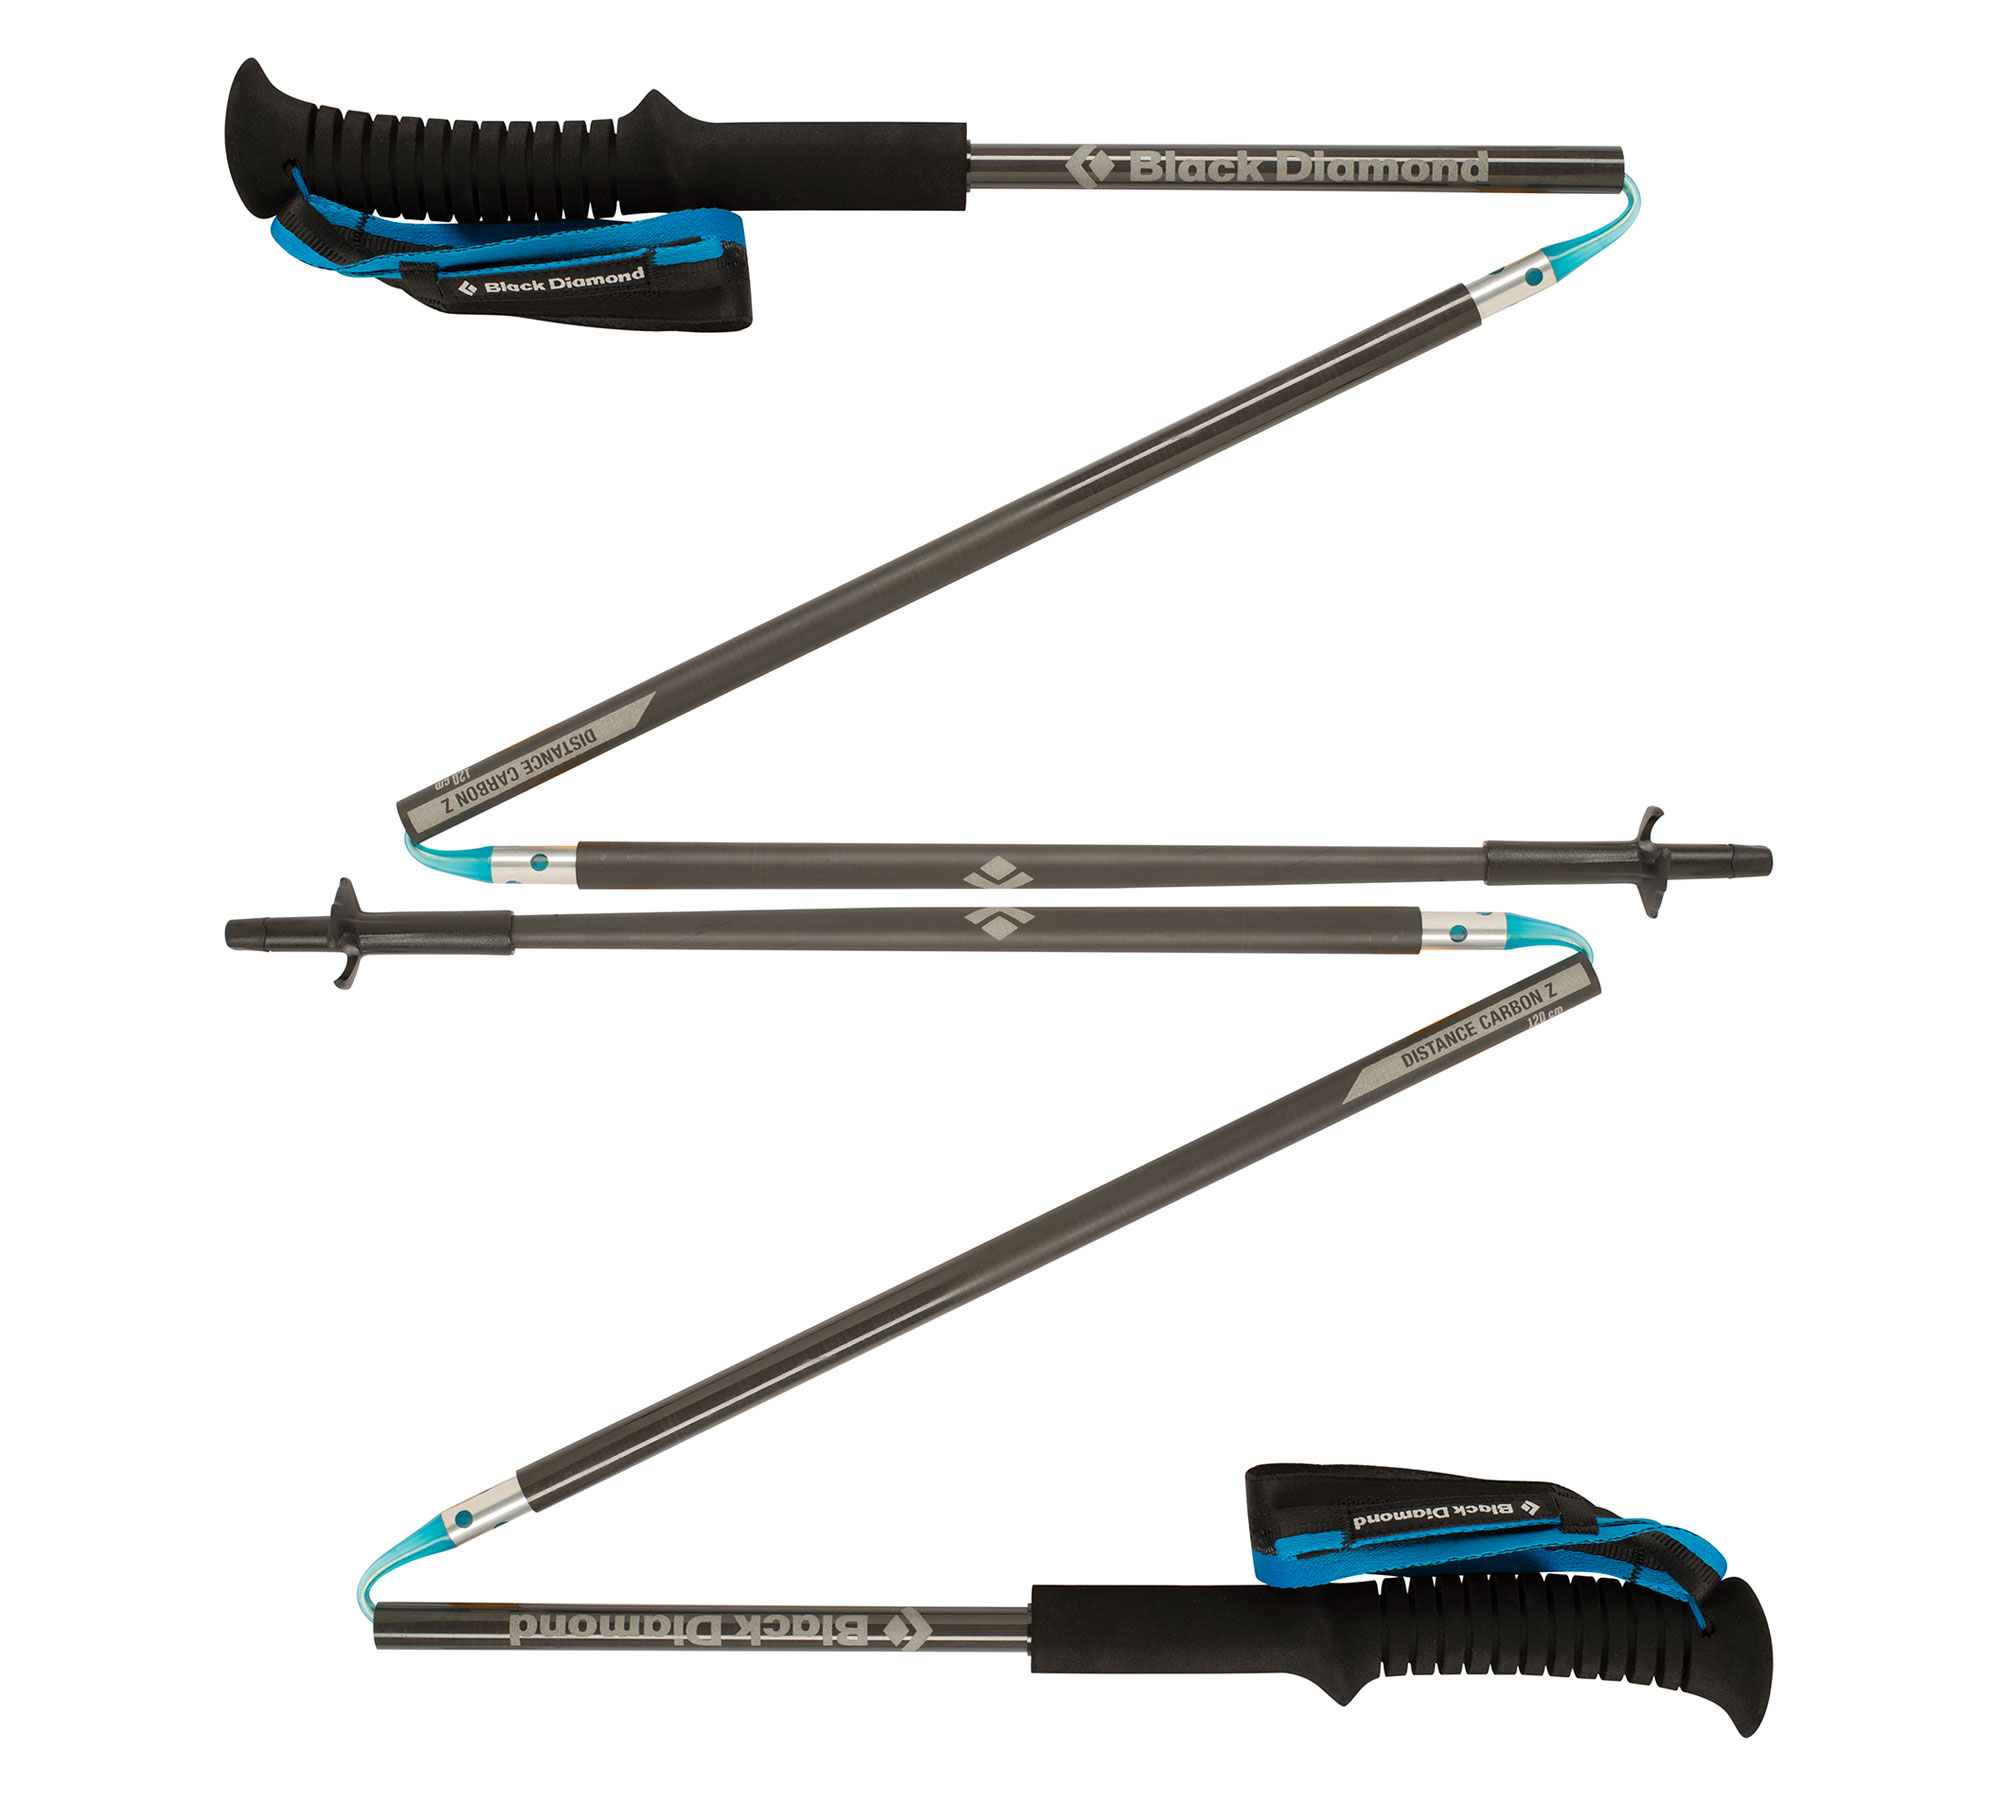
POLES
You’ll want a pair of collapsible poles. Definitely buy a pair that’s intended for backcountry ski/snowboard use because the hiking ones are super heavy and won’t have snow-specific baskets.
I have a set which fits inside my pack these days, which is way nicer than having a pair of pointy death sticks attached to the outside of your pack.
But back in my true dirtbag days, I just used a small pair of uncollapsible traditional ski poles, only because that’s all I could afford at the time.
CRAMPONS
There are two types of crampons with which you need to concern yourself. The crampons that fit over your ski and help with you stomp your way up icy slopes.
And there are the crampons that fit over your boots and are used in mountaineering scenarios (board on your back, spikes on your feet, ice-axe(s) in your hand(s).
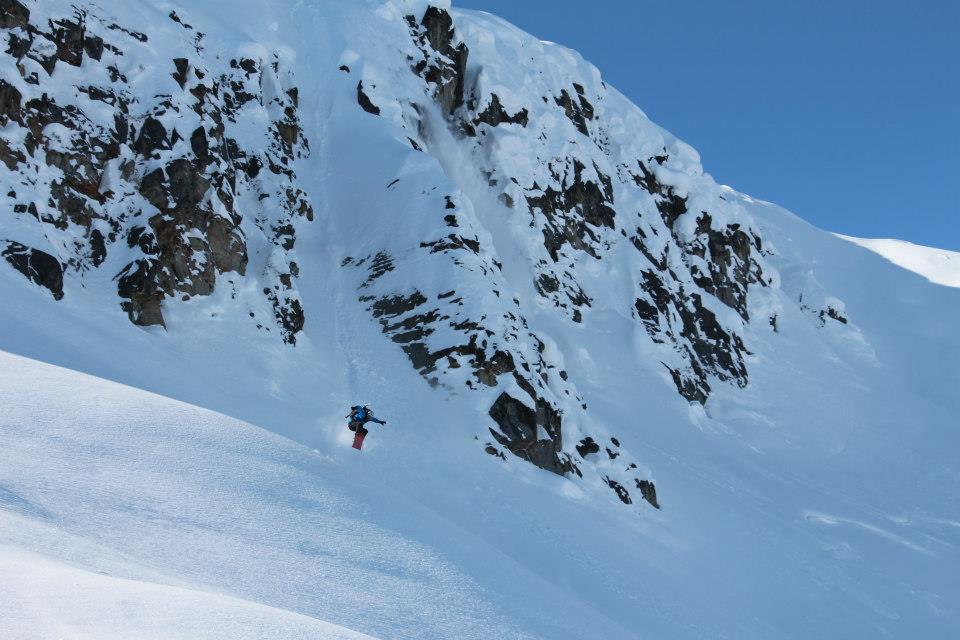
Gotta be careful, this is “Poon” country…Photo: Shane David Treat
Crampons can be the difference between life and death in mountaineering scenarios, so it’s wise to have them in your pack at all times.
Traditional crampons WILL NOT fit on traditional snowboard boots, which is why a lot of snowboard mountaineers opt for a hard boot set-up.
But there are strap-on crampons that do the trick. I use a pair of CAMP XLC 490 Universals. They’re cheap and they’re light, which is great. But the sloppiness of my boots tends to loosen them up on the steep stuff, sometimes causing me to step out of them.
This has happened to me over exposure before and scared the absolute shit out of me.
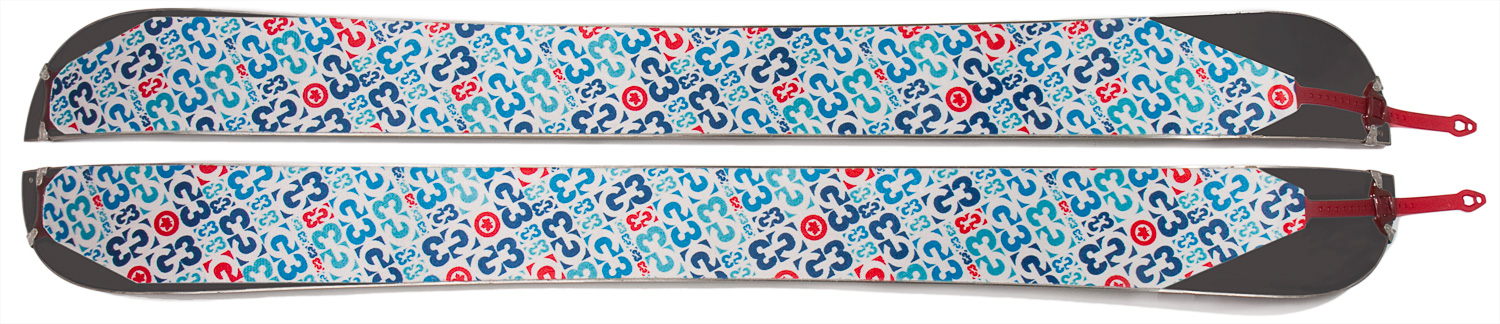
SKINS
Don’t get anything aside from split-specific skins that are designed to follow the shape of your board. I run a pair of G3‘s and am super happy with them.
BACKPACK
There are a lot of packs out there. But you have to be careful because an alarming amount of them aren’t set up to carry a snowboard vertically. Make sure yours does, and make sure that it’s big enough to accommodate all your bits and pieces and lunches and flasks and headlamps and radios and ropes and first aid kits and everything else you might be taking with you.
A 30(ish) Litre Daytripper will NOT do the trick for anything but missions directly off the resort or short days in the backcountry that don’t involve any mountaineering.
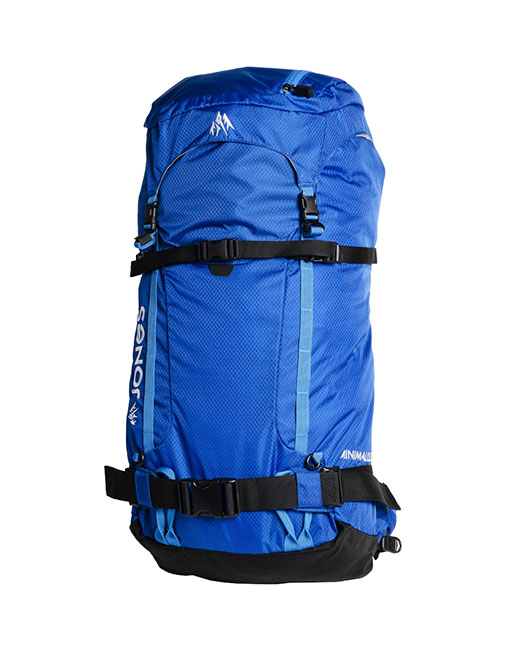
The Jones Minimalist Pack comes in both 35 and 45 Litre options. Notice the straps that accommodate a snowboard in the vertical position. Make sure your pack has that option and be careful, because a lot of them don’t.
The BCA Stash 40L pack is another super good option…
OUTERWEAR
You’re in the backcountry, so get high quality, waterproof stuff that accommodates layering. A Tall Tee and a pair of jeans just ain’t gonna cut it. And a lot of outwear out there, even expensive ones from reputable companies, are designed for sitting on chairlifts and looking fly in the park. But they’ll turn you into a sweaty, soggy mess out in the great white yonder.
Always roll with a warm insulated layer in case you or someone within your crew gets hurt and/or you have to spend the night.
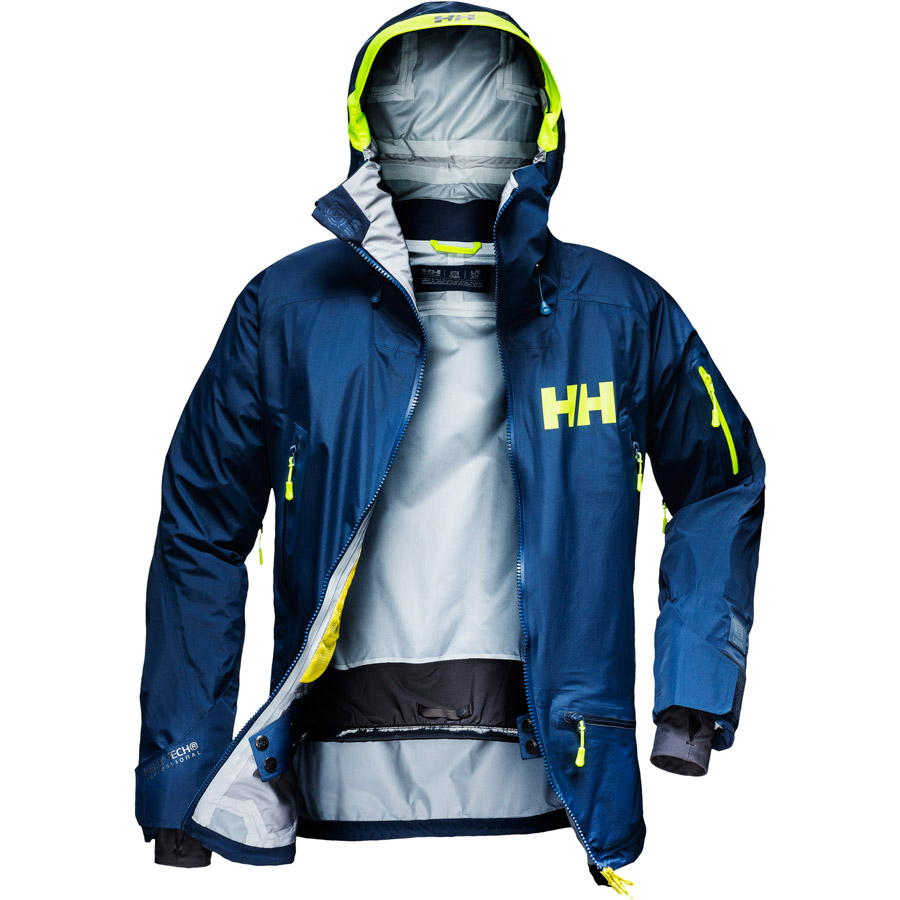
Lightweight Waterproof Shells, like The Ridge from Helly Hansen, are the key to staying warm and dry in the backcountry.
And make sure you’re always rolling with a nice dexterous set of gloves, because taking your gloves on and off during your changeover adds more time than you might think.
BACKCOUNTRY GEAR/KNOWLEDGE
Now this should go without saying. But splitboarding is a backcountry activity so always have your transceiver, shovel, probe and at least one (preferably more) partner that you trust out there with you.
Most importantly, take a course or six and make sure you know what the fuck you’re doing out there.
***
Of course this is a super quick and dirty list that’s been put together solely from my own experience. Don’t be afraid to check forums, ask knowledgeable retailers, guides, friends etc what works for them and, in turn, might work for you.
And don’t be discouraged by the difficulties you’ll encounter on your first couple tries skinning. There’s a learning curve there, especially if you’re tackling a steep greasy skin trail (like the one that often zig zags through the timber of Rogers Pass’s Grizzly Shoulder).
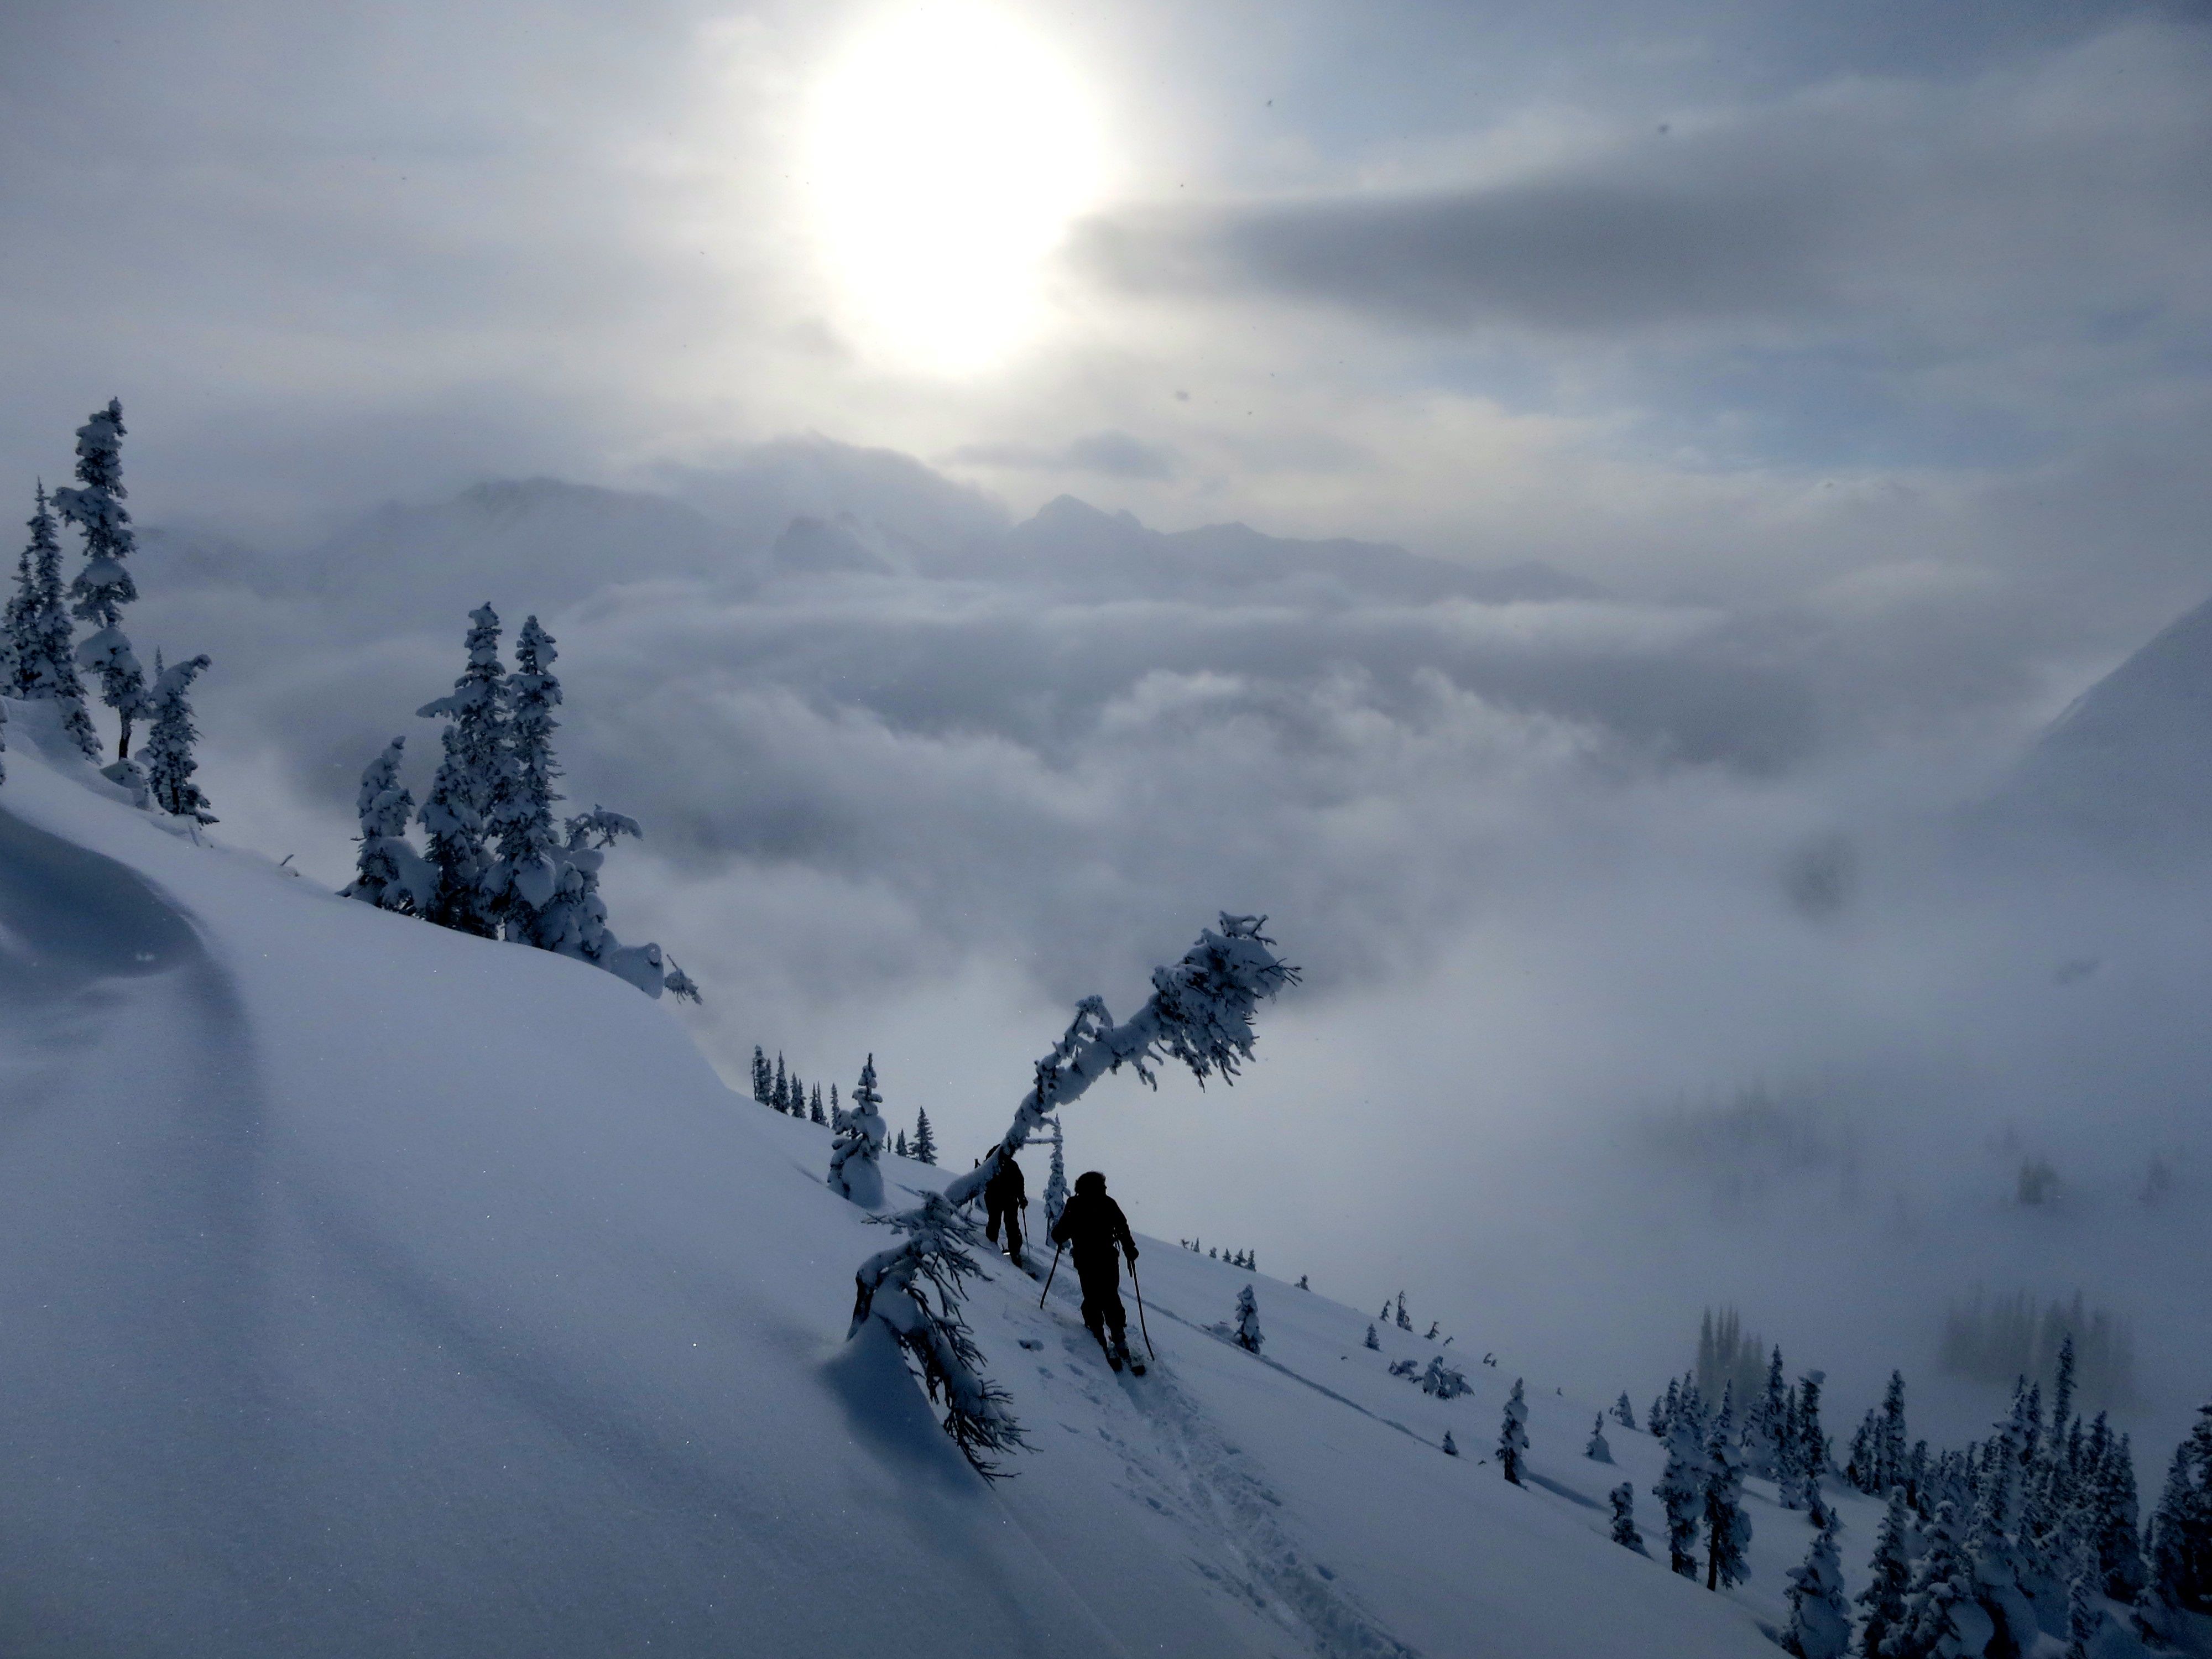
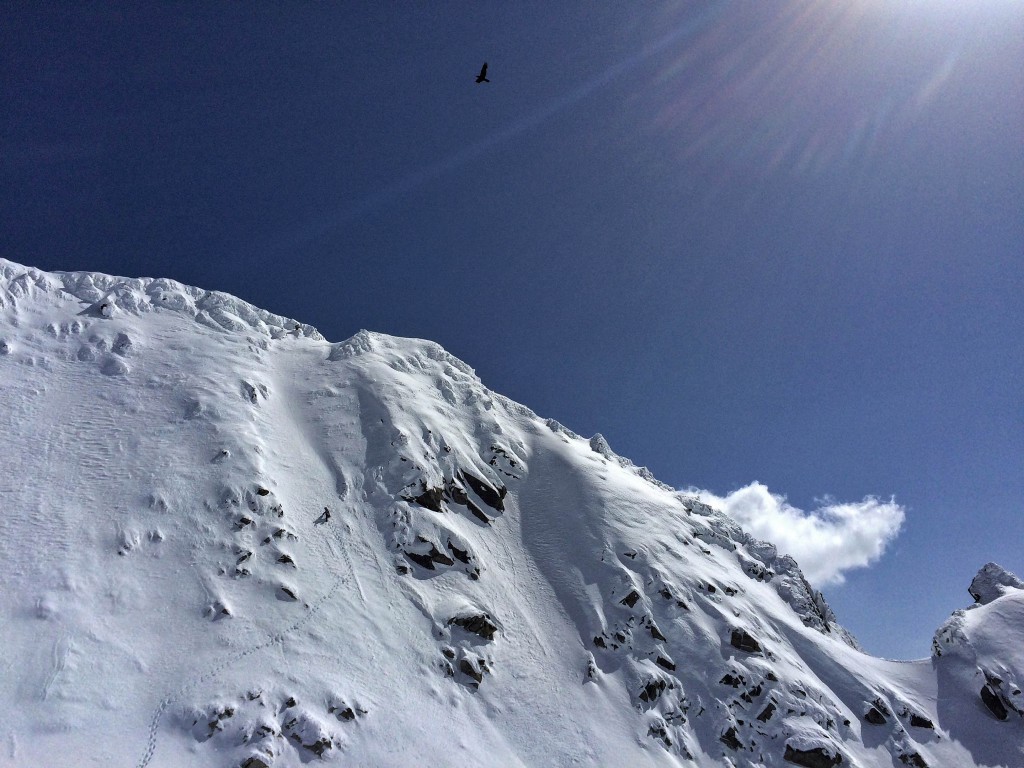
Everybody loves getting high in the mountains with their friends…
But once you find that rhythm, there’s no better way to get around in the mountains. Skinning’s a meditative movement and there are days when it’s so automatic that you don’t even break a sweat.
So yeah…..Fuck snowmobiling. Fuck Helis. Fuck cats (not actual cats) and leave the madness of the resort behind you.
And if you’re a snowboarder, DO NOT give up on standing sideways for the sake of backcountry access.
GO SPLITBOARDING.
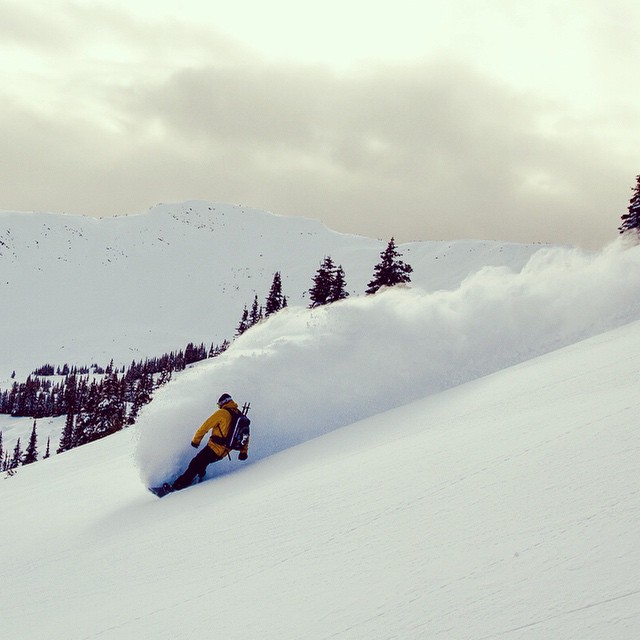
Aaron Bernasconi reaps the rewards of splitting his way up and slashing his way down. Photo: Tim Grey
Check out my review of the Prior BC 165 here
And check out Splitboard HQ for all the info and gear you may need and more…
